|
|
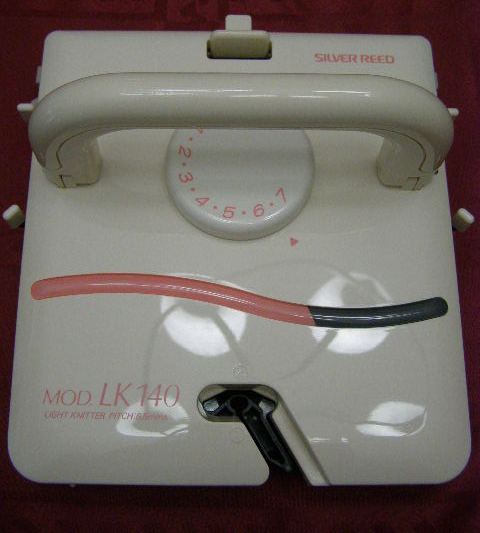
Carriage At the back of the carriage is the release lever. You just move it towards the carriage and you can lift the carriage off the needle bed. Side Levers - towards the back of the carriage. These control needles in B position. In the triangle position the needles in B will knit. Use this for stockinet, plating or tuck stitch. In the circle position needles in B don't knit. Use this for slip stitch and fair isle. Russel Levers - towards the front of the carriage. These control needles in D position. In "I" position needles in D don't knit. Use for tuck stitch or partial knitting. In "II" needles in D knit back to B position. Right russell lever works when the carriage moves from L to R. Left russel lever works when the carriae moves from R to L. |
|
|
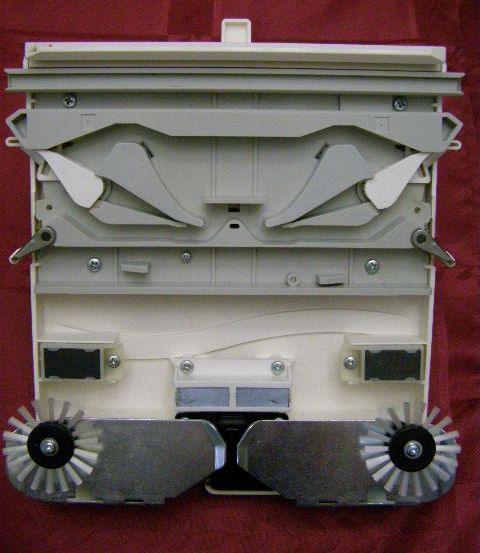
Under side of the carriage |
|
|
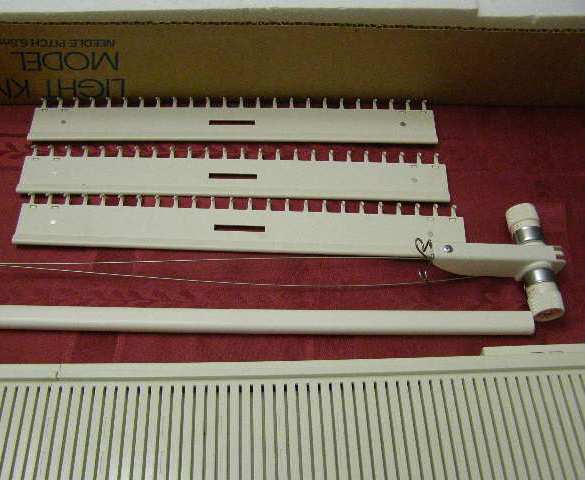
Three cast on combs Auto Tension - Arm Rod Needle Bed |
|
|
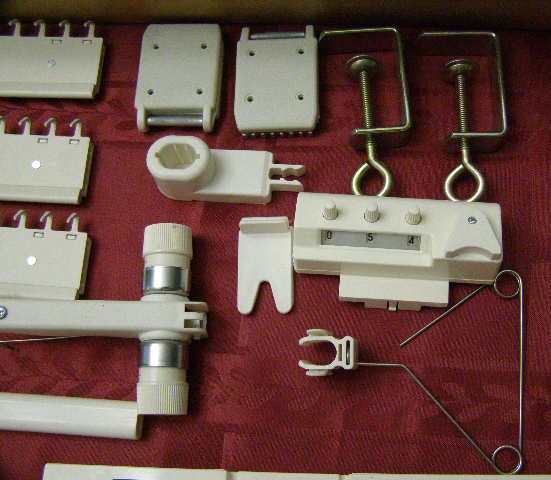
Left to right:- Two claw weights Two clamps Yarn Rod Socket - pushes into the back of the machine and holds up the arm rod Yarn Rests Row Counter Tension Guide - attaches to the back of the arm rod |
|
|
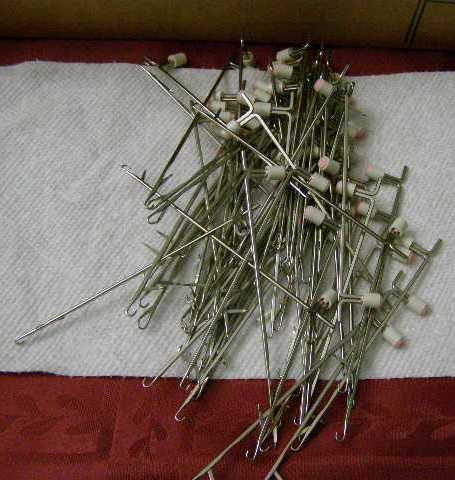
When the needles become too loose then your sponge is in need of replacement. In this model it is a sponge strip not a sponge bar. You will need to order in a sponge; www.spongebar.com is a good place to buy one. You will need to remove all the needles in order to put the sponge in. Notice how the needles are arranged across the bed, five grey, five pink right across. Next, close all the latches, lift the butt of the needle and slide out towards the back of the bed. Continue across the bed. |
|
|
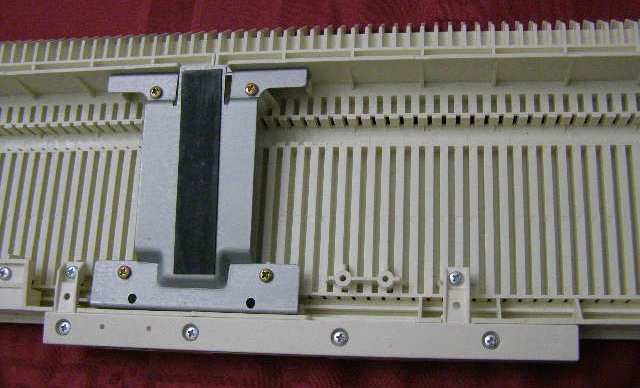
Here's a photo of the underside of the bed after I have removed the sponge. My sponge had rotted badly in places and so I had to do a bit of cleaning before putting in the new sponge. |
|
|
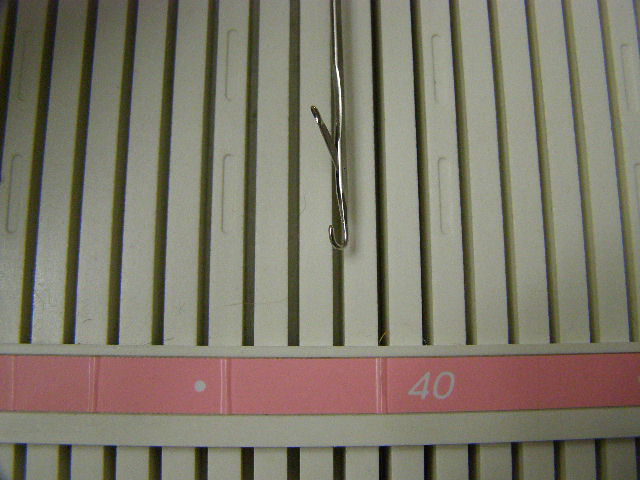
Place the new sponge in the channel - press into place. Turn the bed over and start inserting the
needles one at a time. With the latch open. You will need to have one hand under the bed and one hand on top inserting the needles. You will need to push up the foam as you insert a needle. The only part that's a little difficult is when you come to the metal cross bracing - see in photo above. |
|
|
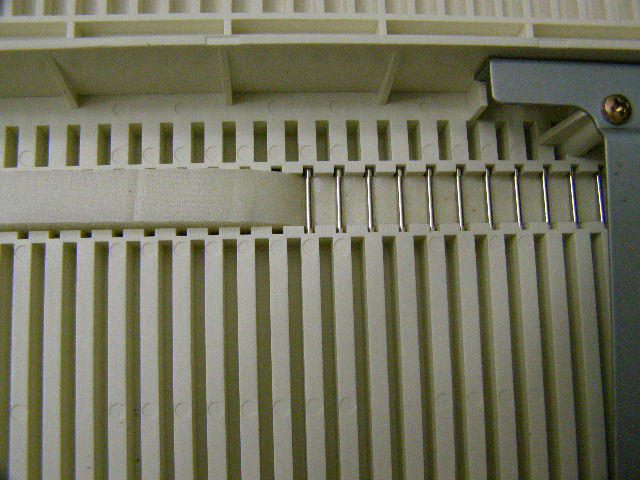
Closeup of the sponge and needles as I was putting the needles in. You can see how the sponge is a bit puffed up and why you need a hand underneath when inserting the needles. |
| May 22, 2020 |
|